 Install with Gale
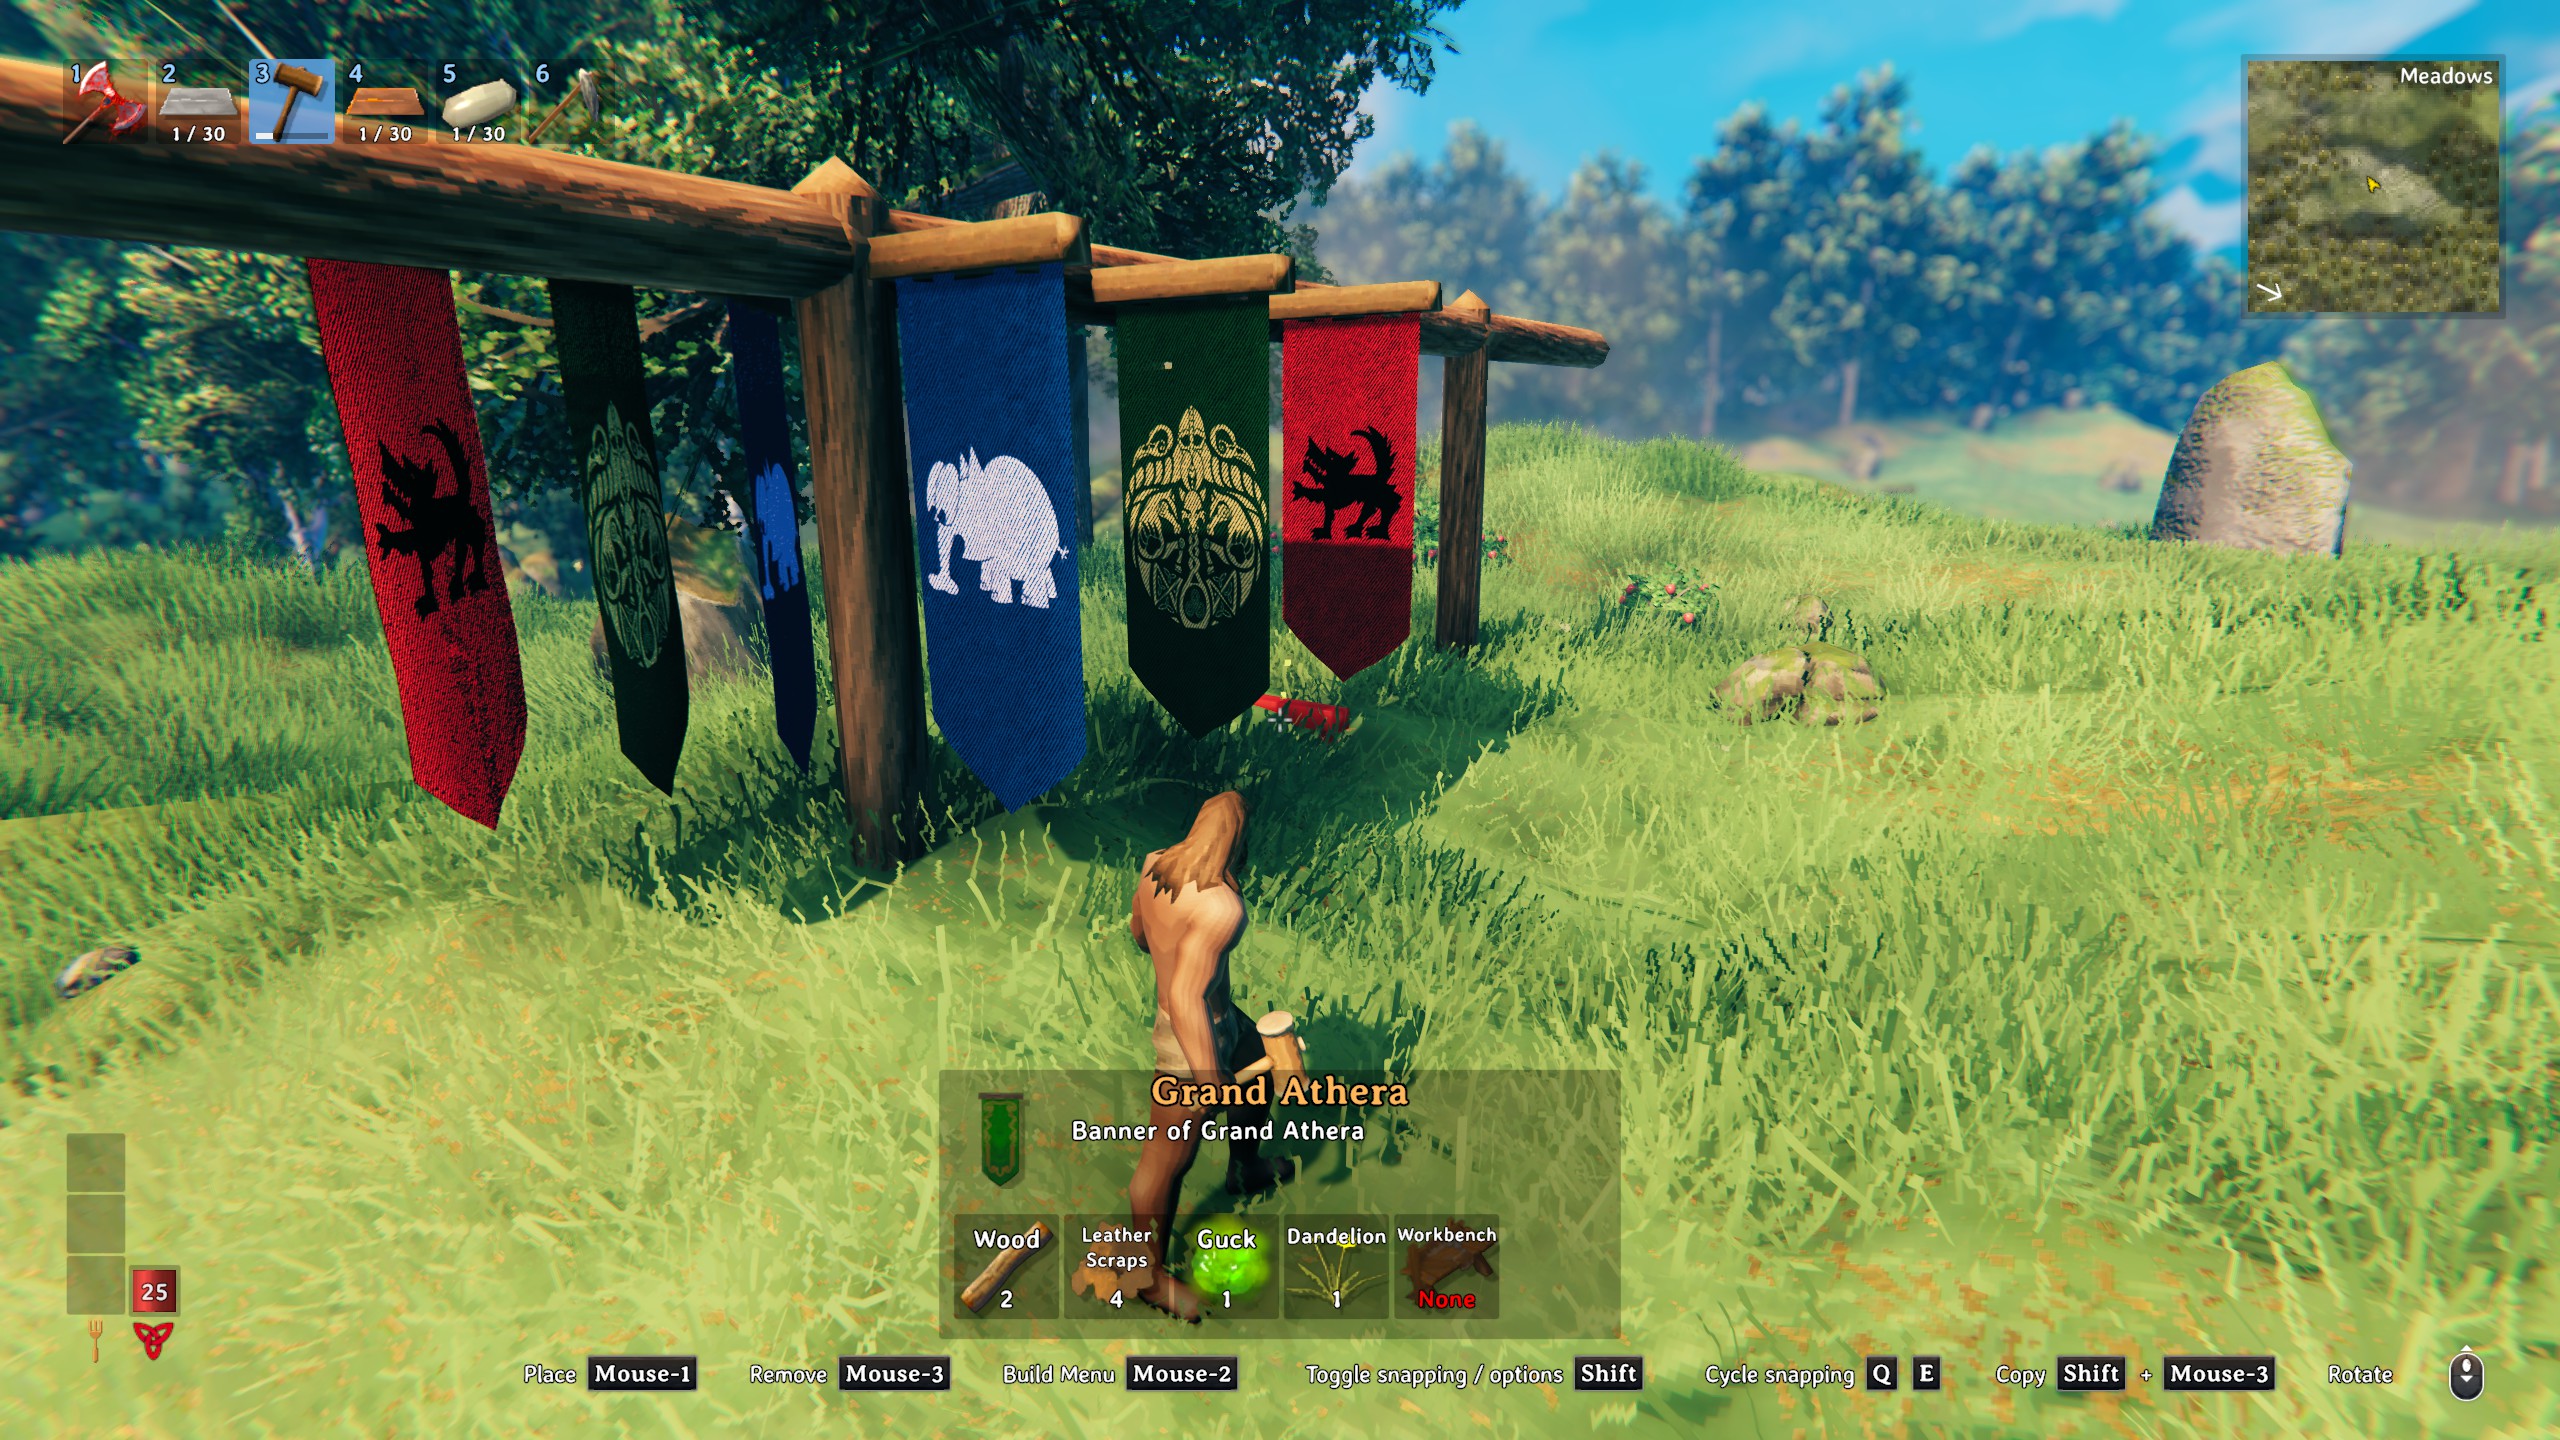
BannerShare
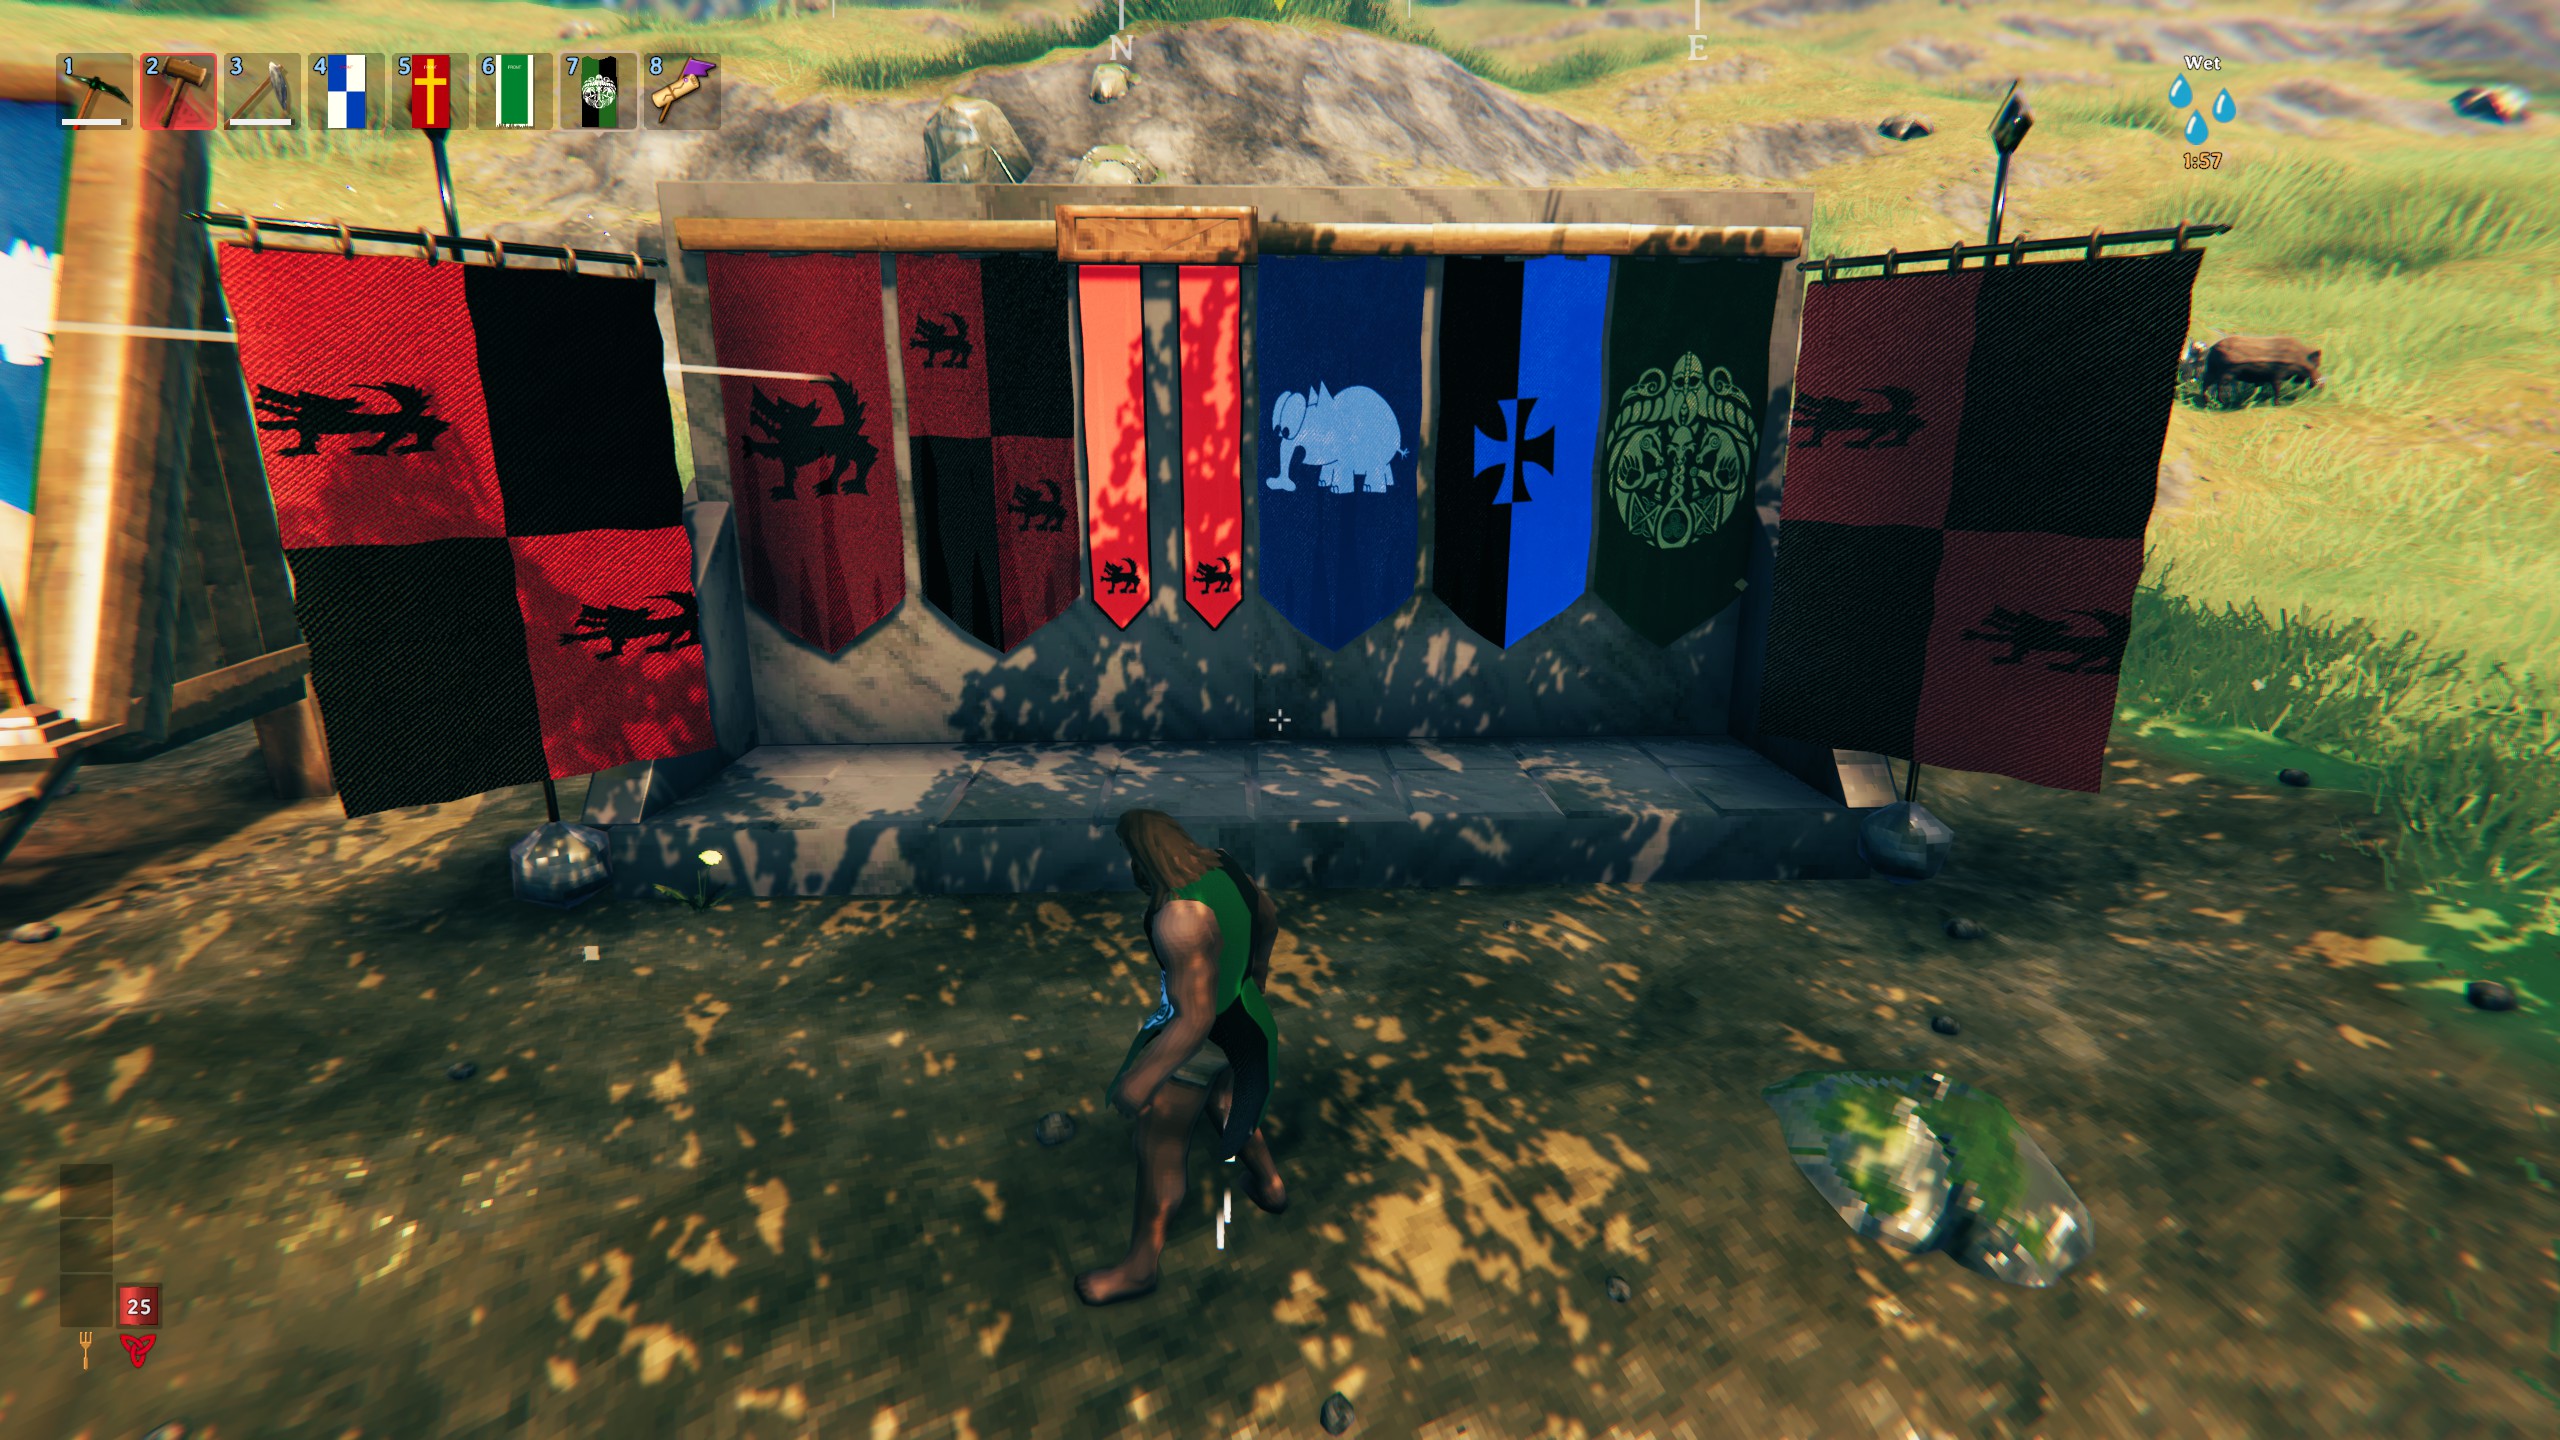
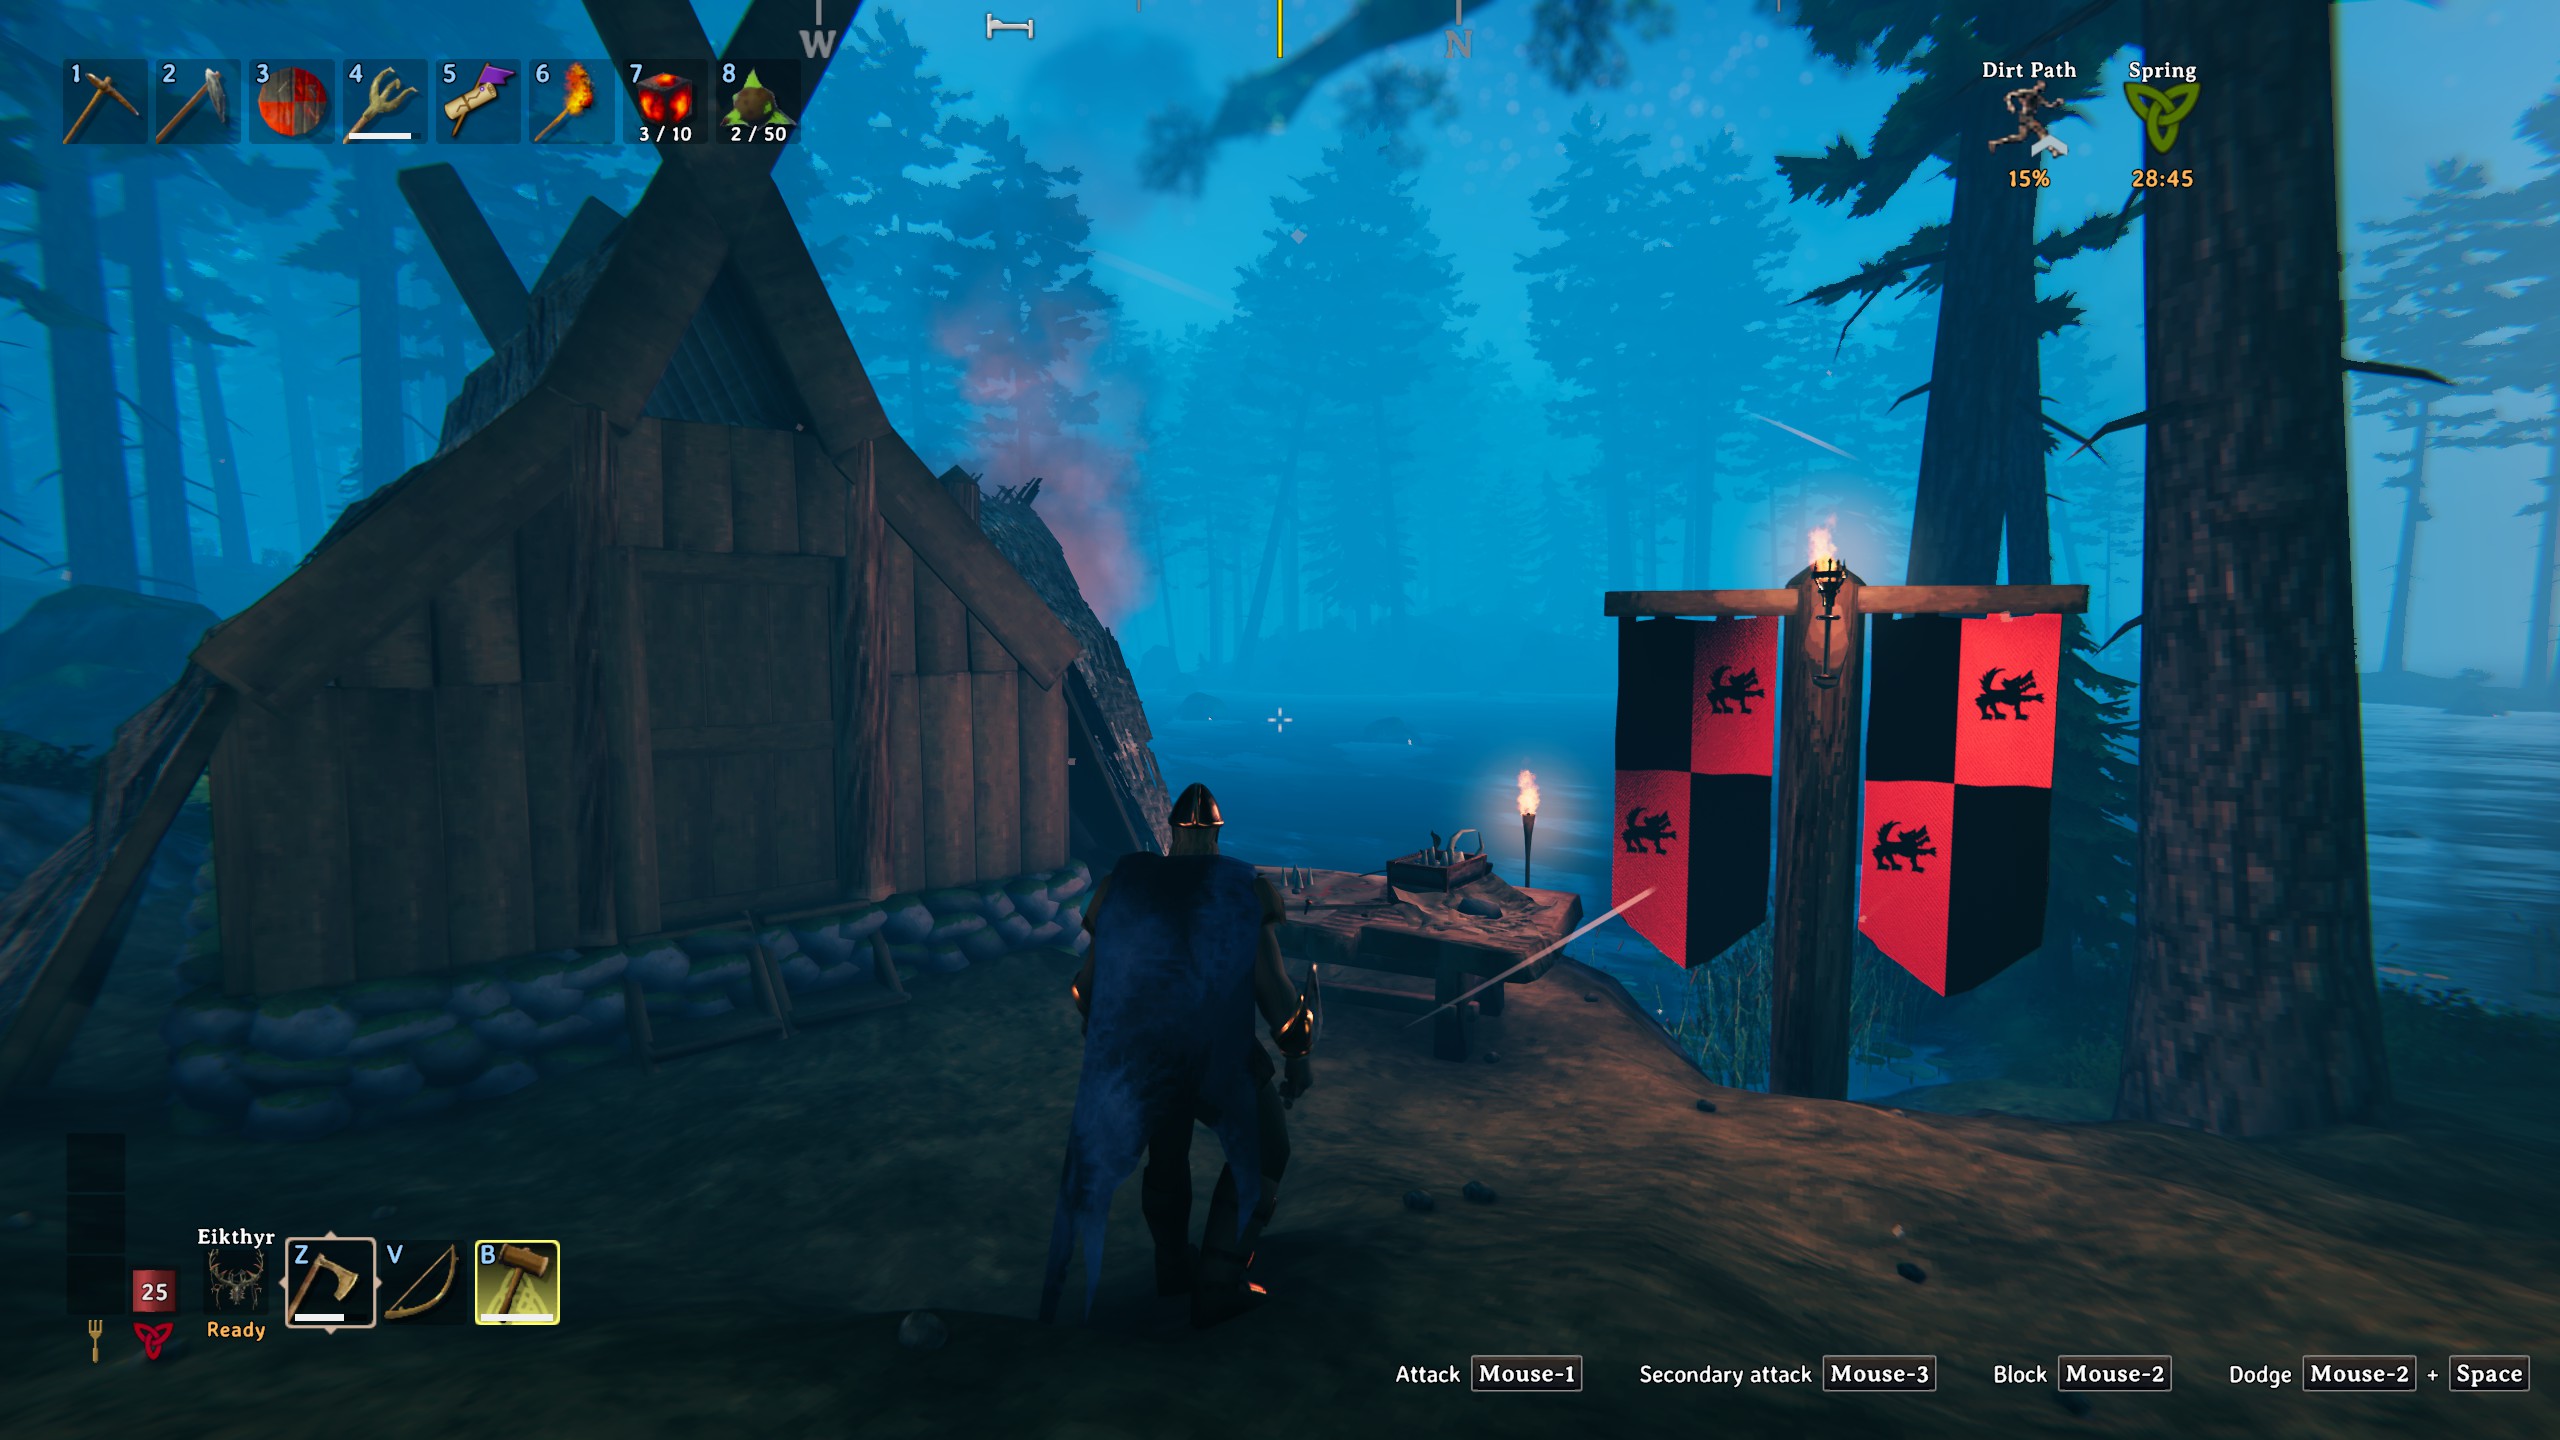
Add your own custom banners to Valheim, and share them with your friends as simple zip files.
Put your banner on any vanilla banner shape, or on BannerShare's own standing banner: a 4 m tall war standard on an iron pole with a stone foot, for planting in the ground or on a floor.
Big thanks to Liz for teaching me what a bump map actually does!
Installing banners
- Run the game once with BannerShare installed. This creates a folder called Valheim Custom Banners in your Documents folder. (If OneDrive manages your Documents, it will be in the OneDrive copy.)
- Put banner zip files in that folder. Don't unzip them.
- Restart the game. Banners are loaded once, at startup.
The banners show up in the hammer menu. To remove a banner, delete its zip and restart.
Everyone on the server needs the same banner zips. If a friend places a banner you don't have, you'll see a bright placeholder banner in its place, a message saying how many banners you're missing, and one chat line per missing banner telling you its name. Ask around the server for the zip, add it, and restart; the real banner comes back.
Making banners the easy way
Don't want to build zips by hand? Valheim Pack Builder is a companion tool that does it for you:
- Fill in a form for the banner's name, recipe and base banner. Picking a base banner fills in its vanilla build cost.
- Load a PNG and crop it to the banner's shape: drag, zoom, auto-fit, rotate and straighten.
- Export a ready-to-use zip with the right folder layout, or open an exported zip later to keep editing it.
Windows: download ValheimPackBuilder-windows.zip from the link above, unzip it and run ValheimPackBuilder.exe. No Python needed.
The rest of this page explains how to make a zip by hand.
Making a banner zip
A zip can hold one banner or a whole pack. Each banner is a folder inside the zip, and the banner's files go inside that folder:
MyBanners.zip
├── BlackDog/
│   ├── Banner.json
│   ├── MainTex.png
│   ├── BumpMap.png
│   └── Icon.png
└── RedHawk/
    ├── Banner.json
    └── MainTex.png
Files loose at the top of the zip won't work. The easiest way to get this right: make a folder for each banner, put its files in it, then select the banner folder(s), right-click and choose Compress to ZIP file (Windows 11) or Send to → Compressed (zipped) folder (Windows 10). Don't zip a folder that contains the banner folders, or you'll end up with an extra layer.
The folder name
The folder name (BlackDog above) is the banner's ID:
- It must be unique. Two banners with the same folder name will overwrite each other, even if they're in different zips.
- Don't rename it once banners are placed in a world. Placed banners remember the folder name, so renaming turns them into placeholders.
- Letters and numbers only is safest.
Missingis reserved.
Files in each banner folder
File names are not case sensitive.
| File | Needed? | What it is |
|---|---|---|
Banner.json |
Yes | The banner's name, recipe and settings (see below). Without it the folder is skipped. |
MainTex.png |
Yes (in practice) | The picture on the banner. Without it you get the vanilla banner's look. |
BumpMap.png |
Optional | A normal map that gives the cloth surface detail. Same size as MainTex.png. |
Icon.png |
Optional | The picture shown in the hammer menu. Square, e.g. 64 x 64. |
EmissiveTex.png, MetalTex.png, MossTex.png |
Optional, advanced | Extra shader layers: glow, metallic shine, and moss growth. |
Images must be PNG.
Picture shape
The shape of MainTex.png (width:height) should match the vanilla banner you base it on, otherwise it gets stretched. Size isn't critical; the example sizes are just a good starting point.
| basePrefab | Shape (width:height) | Example size |
|---|---|---|
piece_banner01 (and the other standard banners) |
about 2:5 | 400 x 1000 |
piece_cloth_hanging_door |
1:2 | 500 x 1000 |
piece_cloth_hanging_door_blue |
about 1:5 | 200 x 1000 |
piece_cloth_hanging_door_blue2 |
about 3:1 | 1500 x 500 |
StandardLarge (BannerShare's standing banner) |
exactly 2:3 | 1024 x 1536 |
If the shape is well off, the BepInEx log (BepInEx\LogOutput.log) will warn you and suggest a size.
Transparent pixels are cut out of the cloth. To give a banner a pointed tail, a swallowtail or a ragged edge, paint those parts of MainTex.png fully transparent.
Banner.json
Copy this and change the values:
{
  "displayName": "Black Dog",
  "description": "The banner of the Black Dog clan",
  "basePrefab": "piece_banner01",
  "craftingStation": "piece_workbench",
  "hidden": false,
  "requirements": [
    { "item": "Wood", "amount": 2 },
    { "item": "LeatherScraps", "amount": 4 },
    { "item": "Raspberry", "amount": 2 },
    { "item": "Coal", "amount": 1 }
  ]
}
| Setting | What it does |
|---|---|
displayName |
The name shown in the hammer menu. |
description |
The text under the name. If left empty, the display name is used. |
basePrefab |
Which banner to copy: its shape, size and where it can be placed. Use a vanilla banner's name, or StandardLarge for BannerShare's standing banner. Defaults to piece_banner01. See the picture shape table above. |
craftingStation |
What the player must be near to build it, e.g. piece_workbench, forge, piece_stonecutter, piece_artisanstation, blackforge, piece_magetable. Leave empty ("") for none. |
hidden |
true hides it from the hammer menu. It still loads, so banners already placed still show. |
requirements |
The build cost. item uses Valheim's internal item names (e.g. Wood, FineWood, LeatherScraps, Coal, Raspberry, Blueberries). Search "Valheim item IDs" for a full list. |
Check your commas and brackets. If Banner.json has a mistake, that banner is skipped and the BepInEx log says why.